How to make AI-generated images look more like real photography
The first thing you’ll need is to choose an AI generator. I won’t recommend any particular model here. It’s a matter of taste and habit. But I can tell you with certainty: it should be a paid subscription. Only a paid subscription allows you to use ready-made images for commercial purposes. And selling photos, mind you, is commercial use.
Secondly, the prompt: Without a good prompt and experience creating it, you’ll spend hours achieving the desired result. The best marketplace for selling ready-made prompts with a preview of the results today is Promptbase.
I recommend it not only because I sell prompts there myself, but also because it’s a truly convenient and well-designed marketplace for authors and buyers. Incidentally, it’s recently become possible to purchase subscriptions to specific authors. This can save you a lot of money if you sell digital goods on Etsy, for example. And it saves a fair amount of time, too.
Let’s continue our topic. You’ve armed yourself with a tip and are ready to get started. You’ve generated a couple dozen, maybe even hundreds of images. Now what?
Next, you need to process them properly to increase your chances of being approved by photo stocks. By the way, I forgot to mention that not all photo stocks accept generative content. And as a photographer and illustrator, I certainly welcome this. But recently, I’ve decided not to rule out the possibility of earning a few extra dollars by selling AI content and joining the ranks of generative image creators.
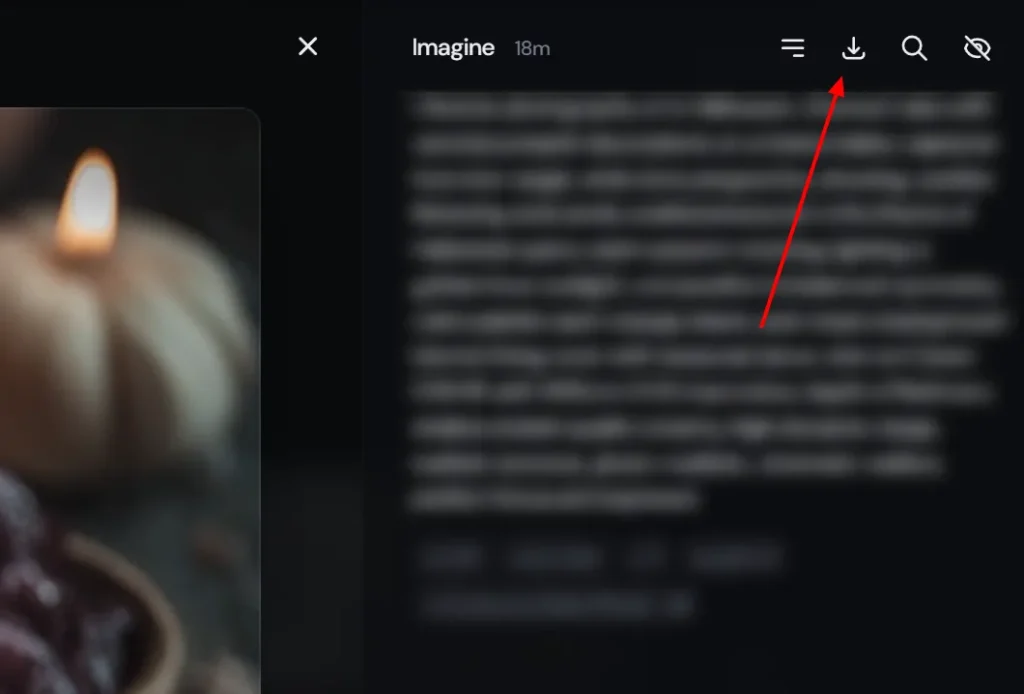
I work 90% of the time with Midjourney. I don’t use the built-in upscaling.
AI Photo Processing
Download our photo.
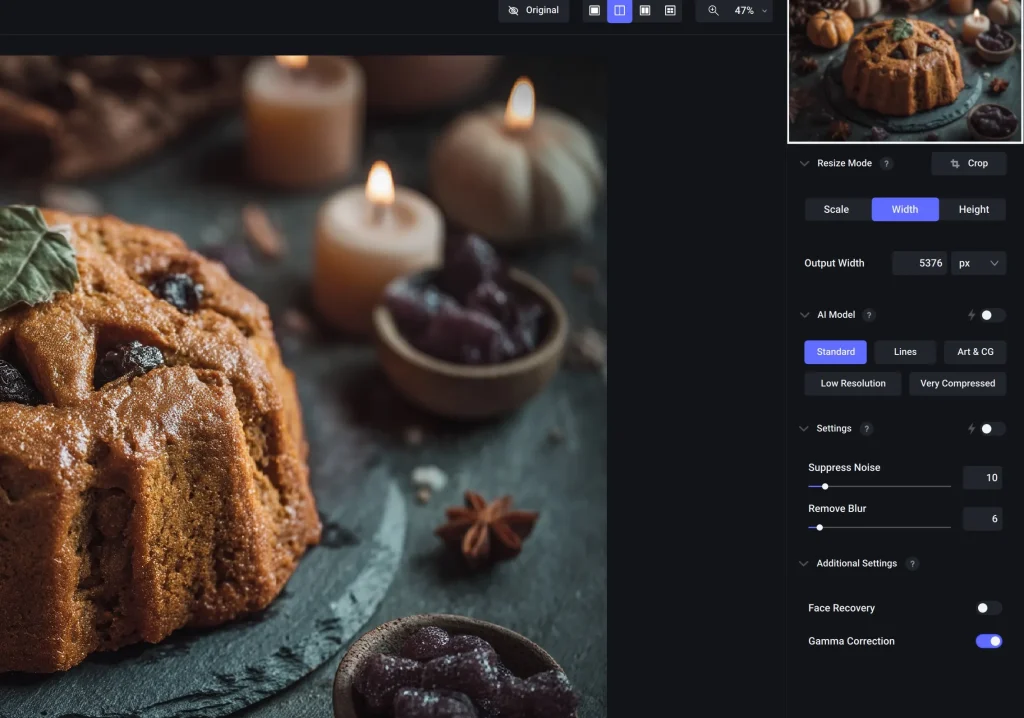
I use several tools for upscaling: Topaz Gigapixel and Upscale.
Topaz Gigapixel settings:
- Standard Model
- Denoise 10 or 19
- Remove blur 6
- Gamma correction – as needed
- Export to JEG format, quality 10, color profile sRGB
Then I open the photo in Photoshop (or Photopea). I change the resolution step by step from 72dpi to 150dpi, and then to 300dpi, maintaining the original dimensions. If necessary, I make minor adjustments in Camera Raw: contrast, color balance, and exposure. Save the image.
Now all that remains is to add the attributes and submit for review.